- Product

- Pricing
- Affiliate Program
- Use Cases
- Resource
 EN
EN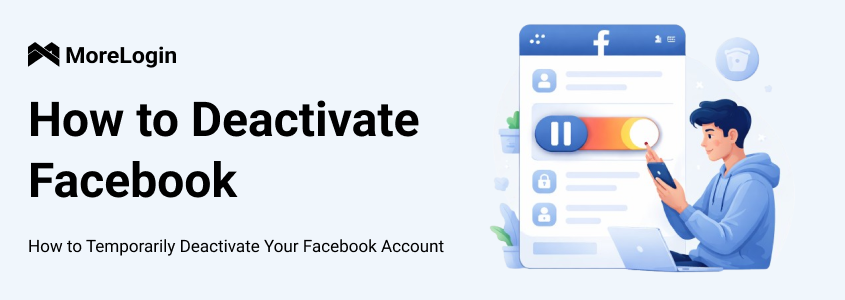
How to Temporarily Deactivate Your Facebook Account
Temporarily stepping away from social media can be somewhat beneficial, and knowing how to deactivate Facebook properly ensures your privacy and data remain protected. Whether you want to take a break from endless notifications, limit your exposure, or simply pause your online presence, deactivating your account temporarily gives you control without permanently losing your Facebook content.
This guide will show you how to deactivate a Facebook account, highlighting steps that keep your information safe and prevent accidental data loss. By following these methods, you can enjoy a stress-free break from Facebook while knowing that reactivating your account later will be seamless. Whether on desktop or mobile, we’ll cover everything you need to make your temporary deactivation smooth, secure, and hassle-free.

When you choose to deactivate your Facebook account, your profile and timeline will immediately become invisible to your friends and the public. People won’t be able to search for or view your account, giving you a temporary break from social media without permanently deleting your data.
Your Messenger account, however, can remain active unless you specifically disable it, so you can still chat with your friends while your main profile is hidden. All your photos, posts, and account information remain stored on Facebook’s servers, meaning nothing is lost - you can restore everything when you log back in. Logging in automatically reactivates your account, making it easy to resume social interactions whenever you’re ready.
Understanding these effects helps you manage your break more effectively and ensures a smooth transition, whether your goal is privacy, reduced exposure, or a temporary pause in social activity.
Start by reviewing your photos, videos, and posts - back up any content you want to keep. While deactivation is temporary, having a personal copy ensures nothing is lost.
Next, consider whether you use Facebook to log in to other apps, games, or third-party websites. Update login methods or inform relevant contacts to prevent losing access while your account is inactive.
For business users, check if any Pages, advertising accounts, or associated business tools might be affected. Reassign administrative privileges if you manage multiple accounts to ensure ongoing operations are not disrupted.
Additionally, review connected groups, events, and collaborative content where your presence is required. Planning ensures a smooth and secure temporary deactivation, letting you take a break without unexpected interruptions.
Now that you’ve prepared your account and backed up important data, it’s time to learn how to deactivate Facebook safely. How to temporarily deactivate Facebook? The process is straightforward, whether you’re on a desktop browser or a mobile device. Follow the steps carefully, and ensure your account is paused without losing any information.
Step 1. Log in to your Facebook account on a desktop browser.
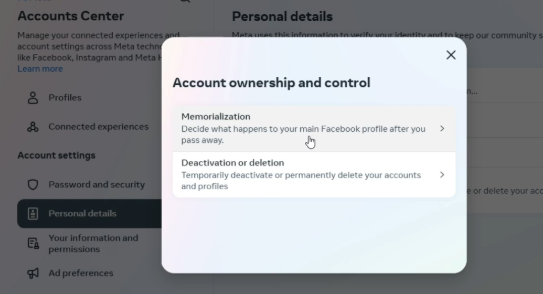
Step 2. Click "Meta Account Center" > "Personal Details" and "Account ownership and control" in turn.
Step 3. There are two options in the pop-up window: "Memorization" and "Deactivation or Deletion".
Step 4. Select "Deactivation or Deletion", then choose "Deactivate Account" and click "Continue" to Account Deactivation.
Step 5. Follow the on-screen prompts, optionally provide a reason for leaving, and confirm your decision.
Step 6. Click "Deactivate" to complete the process. Once done, your profile will be hidden, and you can reactivate anytime by logging back in.
Step 1. Open the Facebook app on your iPhone.
Step 2. Tap the profile icon in the bottom-right corner.
Step 3. Scroll down and select "Settings & Privacy", then tap "Settings".
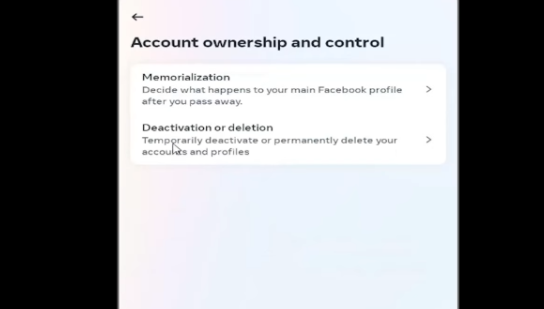
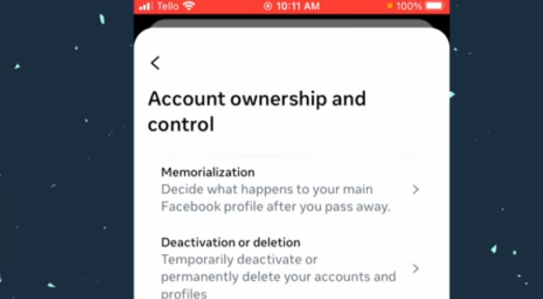
Step 4. Under Account Center, tap "See more in Account Center", then select "Account Ownership and Control".
Step 5. Tap "Deactivation and Deletion".
Step 6. Choose "Deactivate Account" and tap "Continue" to Account Deactivation.
Step 7. Follow the prompts to confirm. Your profile will now be hidden from others, and you can reactivate it at any time by logging back in.
Step 1. Open the Facebook app on your Android device.
Step 2. Tap the menu icon (three horizontal lines) at the top-right corner.
Step 3. Scroll down and select “Settings & Privacy” and “Settings” one by one.
Step 4. Click “Accounts Center” > “Personal details” > “Account ownership and control” in turn.
Step 5. Select “Deactivation and Deletion”.
Step 6. Choose “Deactivate Account” and tap “Continue” to Account Deactivation.
Step 7. Follow the on-screen prompts to confirm deactivating the Facebook account on Android.
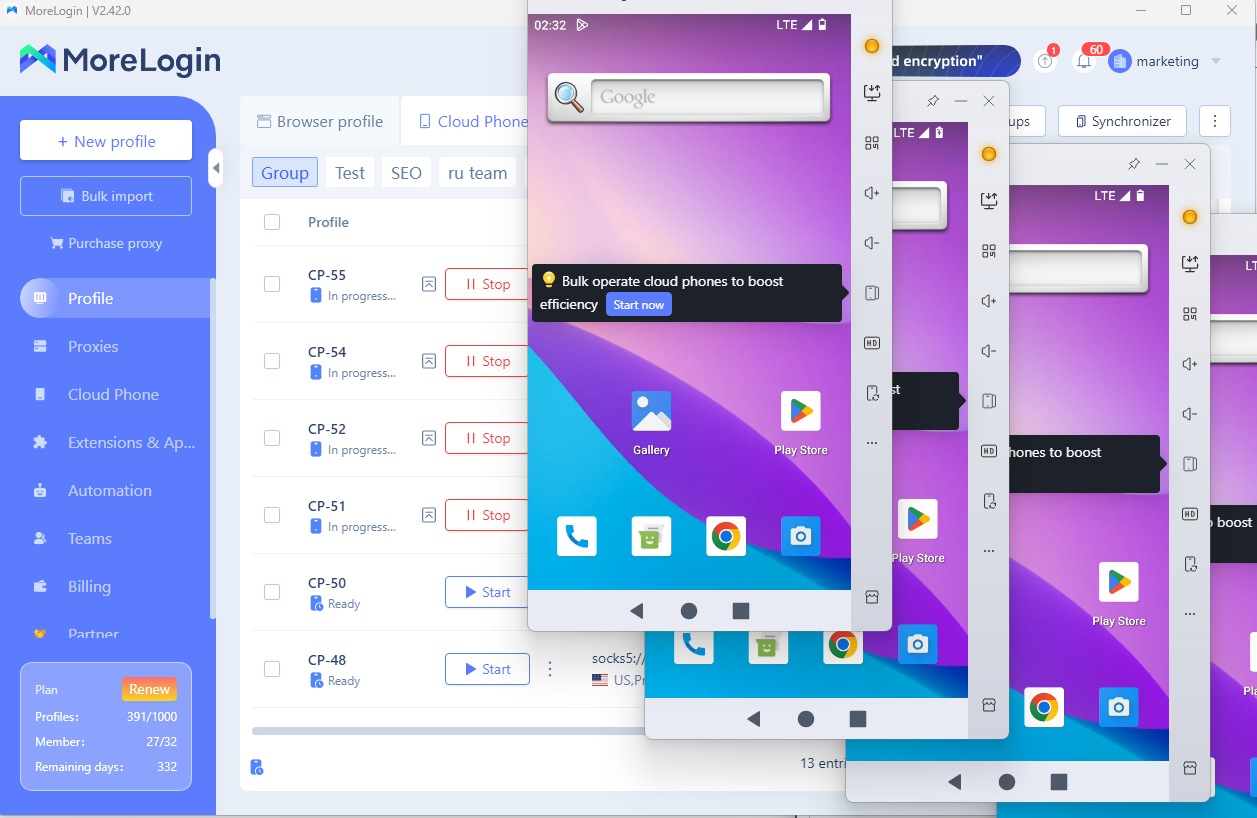
Deactivating a Facebook account can be a sensitive process, as it requires a specific login status, device fingerprint, and sometimes additional verification. Mistakes or interference from cookies, plugins, or browser history can increase the risk of errors or trigger Facebook’s security controls. That’s where Morelogin Cloud Phone comes in.
With Morelogin, you can create a dedicated deactivation environment isolated from your regular browser, ensuring the operation goes smoothly without interference. To handle the Facebook freezes problem, its multi-environment capabilities allow you to manage other accounts simultaneously: monitoring Pages, Groups, or analyzing content, while deactivating your main account safely. This separation minimizes account conflicts and improves your success rate.
In summary, knowing how to deactivate Facebook properly ensures a secure, smooth, and reversible break from social media. By preparing your account, backing up important content, and following the step-by-step instructions on desktop, iPhone, or Android, you can temporarily pause your online presence without losing data.
For users managing multiple accounts or handling sensitive operations, tools like Morelogin Cloud Phone provide a safe, isolated environment that improves success rates and prevents interference. Take control of your Facebook activity today, protect your accounts, and enjoy a hassle-free deactivation experience while maintaining full operational efficiency.
EN


.png)