- Product

- Pricing
- Affiliate Program
- Use Cases
- Resource
 EN
EN
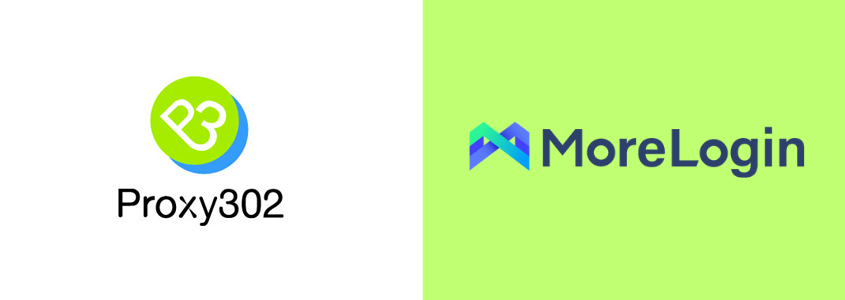
Here's how to integrate your Bright Data proxies with MoreLogin.
MoreLogin is an antidetect browser for multi-account management. It helps you to securely manage multiple accounts to prevent detection or blockage. With MoreLogin's virtual environment, you can create a customizable browser fingerprint that mimics a real device's configuration, effectively masking your online presence.
MoreLogin has a wide variety of possible applications, including affiliate marketing, ecommerce, crypto & NFT’s, multi-account social media marketing, traffic arbitrage, ticketing and more.
Benefits of Using Bright Data Proxies With MoreLogin
With 72 million+ IPs Bright Data boasts the largest proxy pool in the world made up of data center, residential, mobile and web unlocker proxies.
Our proxy network is the best in the world. Through our built-in proxy manager, we offer advanced features such as:
Live preview of the whole traffic
Logs and statistics
Rules for splitting the traffic for bandwidth and cost optimization
Rules that can automatically retry failed requests
Captcha solving and handling markup changes
Easy way of adjusting headers and SSL fingerprint
IP rotation and sessions management
API integration
Steps to integrate Bright Data proxies with MoreLogin
Register for free at morelogin.com and download the MoreLogin app as per your operating system.
After installation, start the app and login into your account.
Click on New profile.
Go to Advance setting and then Proxy settings.
Choose Luminati from the Proxy type dropdown menu.
Select either HTTP or HTTPS, depending on your proxy configuration
Enter zproxy.lum-superproxy.io as the url for Bright Data proxy. The port is 22225
Head over to your Bright Data Proxies & Scraping Infra and click on your proxy zone name.
Under the access parameter option, copy the "Username" and "Password".
Paste it under Login & Password respectively.
Click OK to save the proxy settings.
Click on Start button and begin browsing with Bright Data proxies.
To confirm that your Bright Data proxy is working correctly, check the Event Log section in your Proxies & Scraping Infrastructure dashboard.
EN